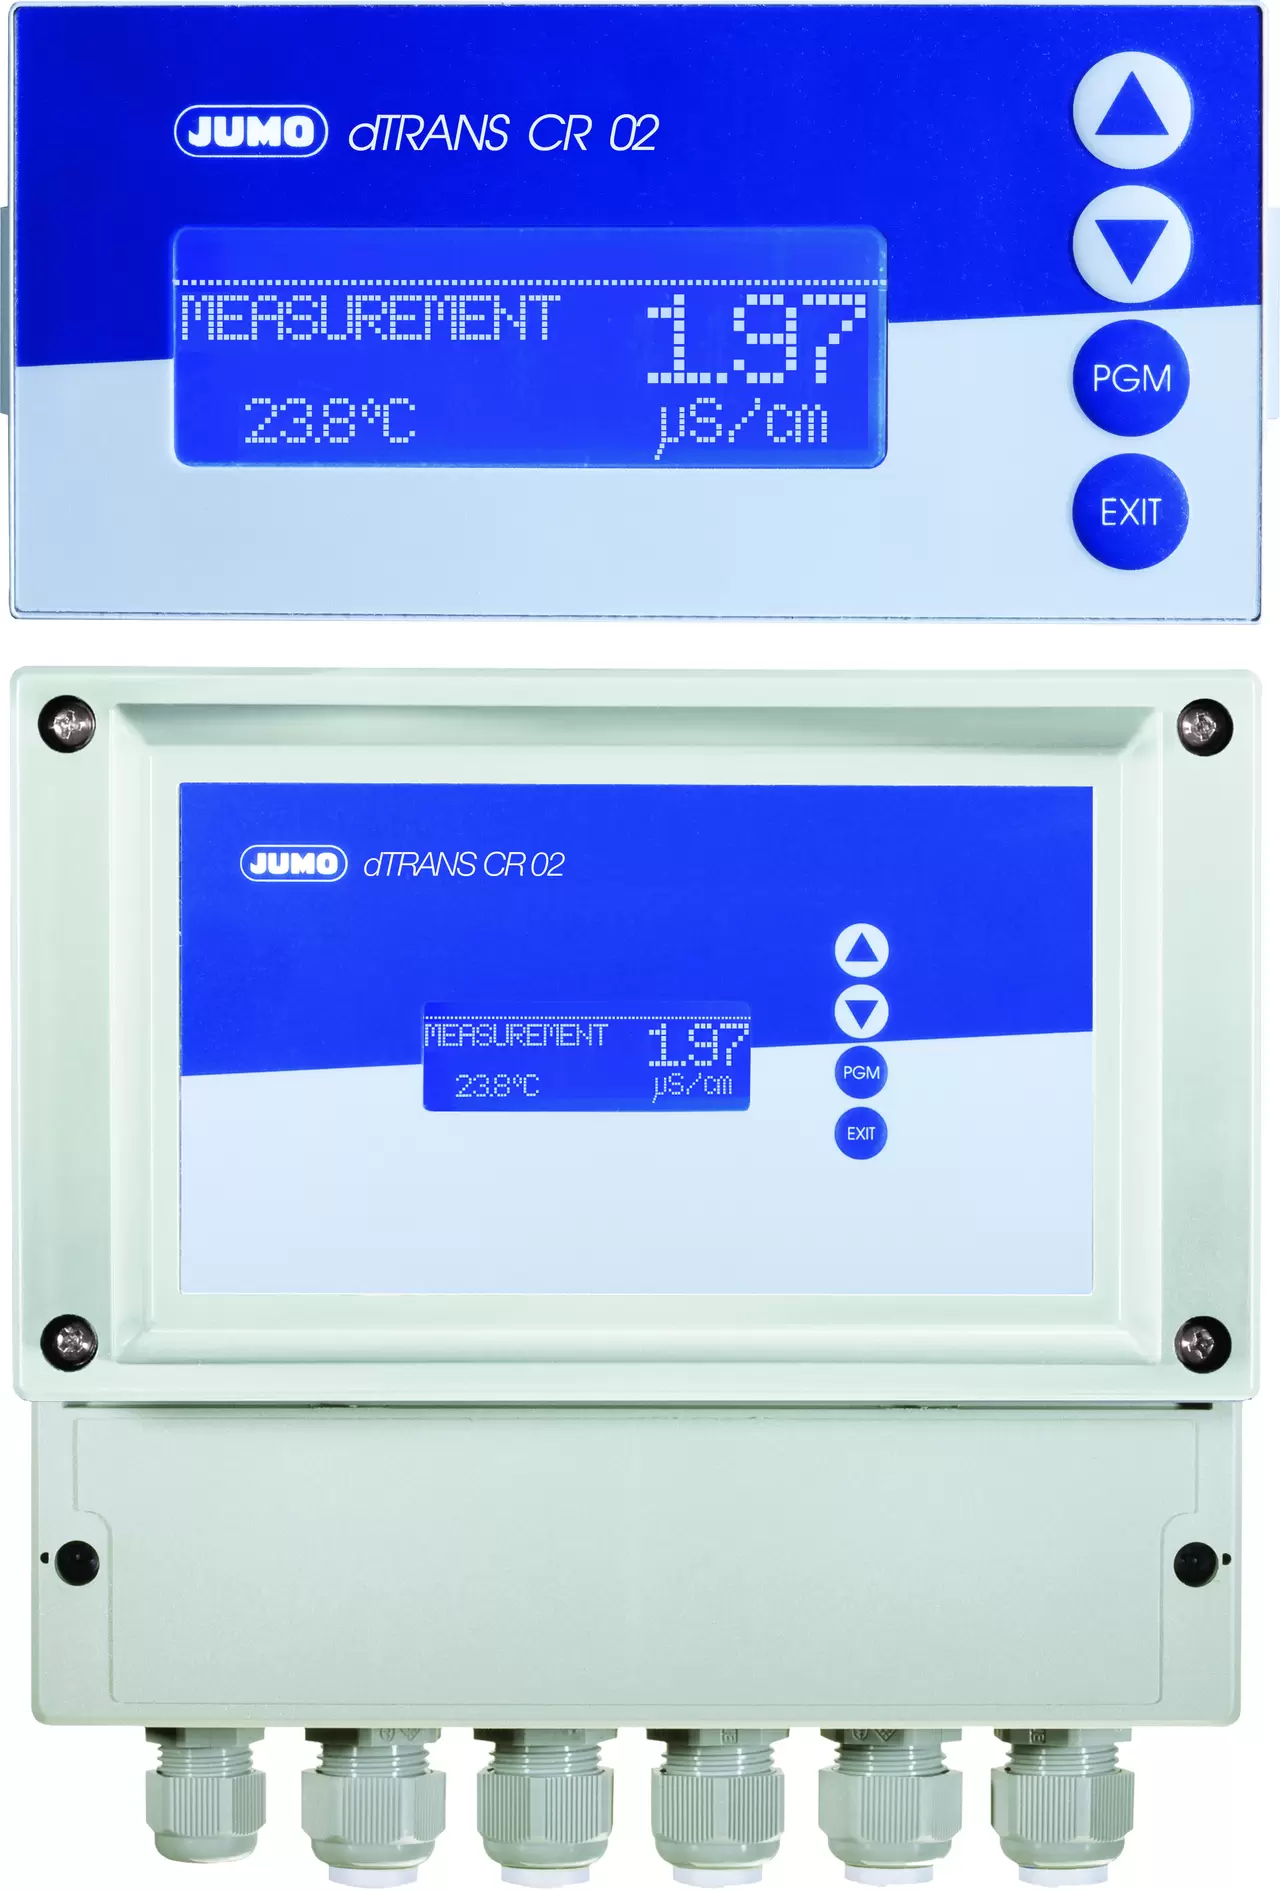
Compact multichannel conductivity sensors and controllers
Find out more about the benefits and related technical specifications of JUMO dTRANS CR 02
Productinfos
Find out more about the benefits and related technical specifications of JUMO dTRANS CR 02
ProductinfosCalibration of the relative cell constant or determination of the temperature coefficient of the measured medium resulted in an error. Previous data is retained.
Factory data is displayed (Cell = 100%, ALPH = 2.3).
To correct the "ERR" error message, manually change two parameters using the keypad (for example, change one digit up or down and confirm with the PGM key) or recalibrate the system.
Error messages F022 and F023 indicate that the measurement range has been under or exceeded.
Hold is additionally displayed. In this case, we recommend checking that the actual value entry is correct.
Check the measuring cell, cables, connectors and the set measuring range "ranG" with the cell constant indicated on the measuring cell.
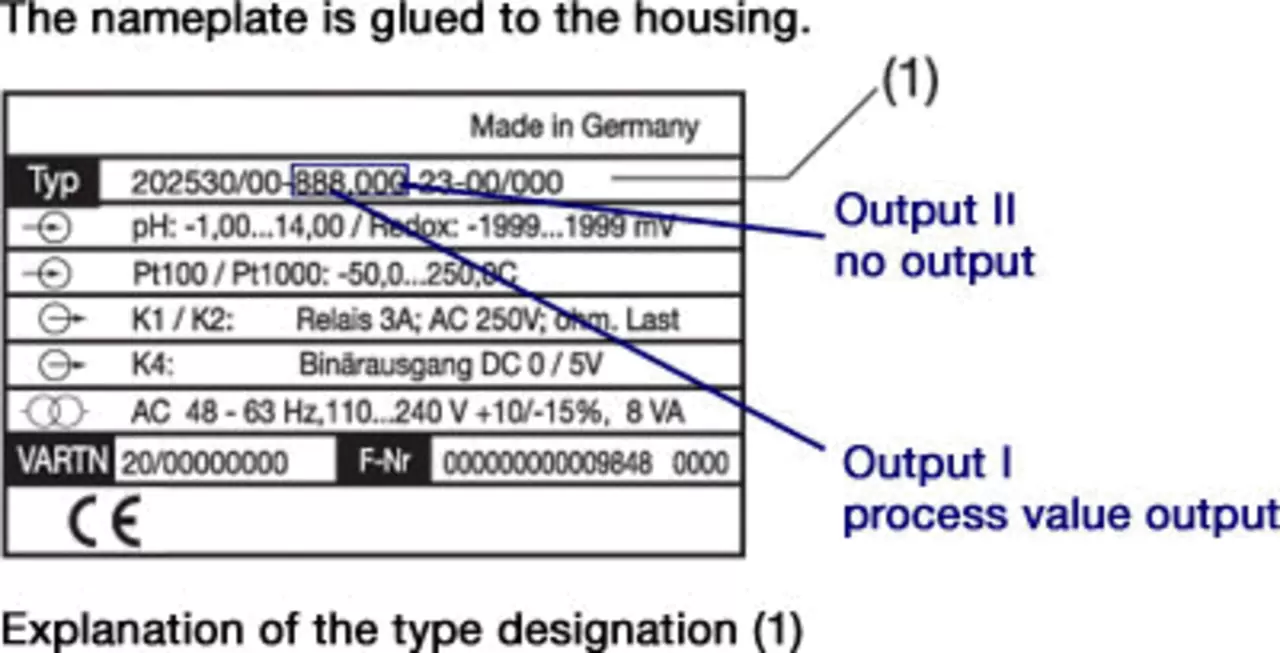
Make sure your device has the appropriate analog output. For this purpose, check the device type designation.
See chapter 4.1, Explanation of type, in the operating instructions.
Configuration level C213 - other I outputs are installed.
The actual output value 2 is set in configuration level C214 - Other outputs II.
Scaling is set using parameters SOL and SOH.
To be able to make settings on two levels, first enter the corresponding CODE to activate.
Start Situation > Measurement Mode > Press the PGM key repeatedly until CODE appears. Set the corresponding CODE by pressing the UP/DOWN keys. Press key PGM to confirm.
The display returns to 0000. Now you can select the appropriate level (parameter). The code is entered correctly when the decimal point flashes during entry.
Function | Code |
|---|---|
Unlock operator level, CAL and manual activation Hold | 0110 |
Unlock operator level and parameter level | 0220 |
Unlock all levels | 0300 |
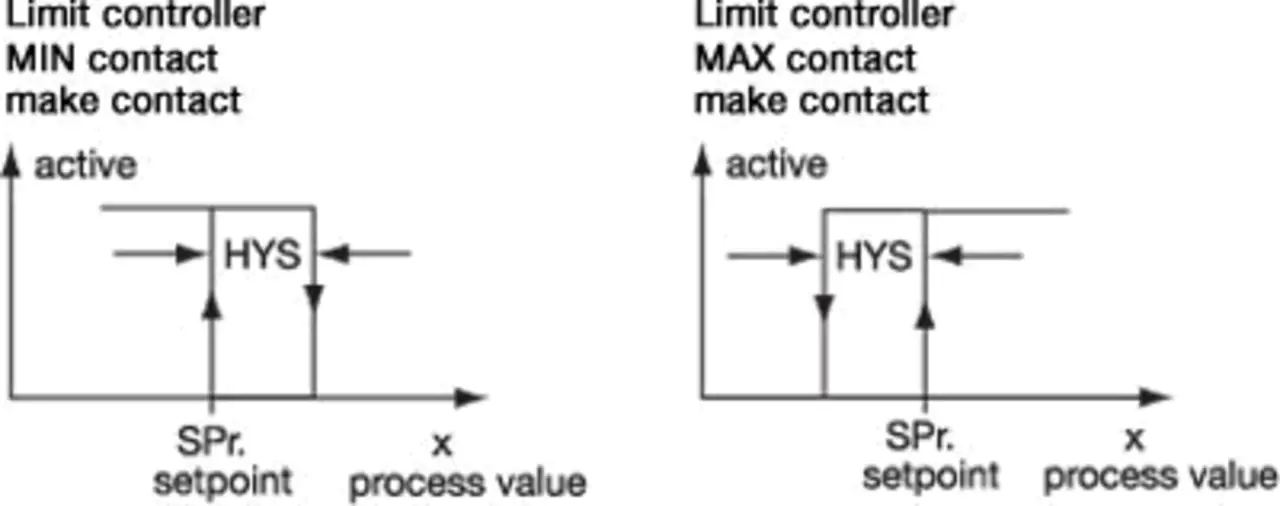
The N/O/N/C setting for the two pins K1 and K2 can be changed at the configuration level under point C212 (controller outputs).
Both contacts are factory set NOC.
NOC: (N/O) The corresponding output is active (closed) as long as the switching condition is met.
NCC: (N/C) The corresponding output is active (closed) until the switching condition is met.
Configuration level C212 (controller pins) can be used to change the Min/Max behavior for the two pins K1 and K2.
MIN-contact: The switching condition is fulfilled when the actual value is lower than the set point value.
Contact MAX: The switching condition is satisfied when the actual value exceeds the set point value.
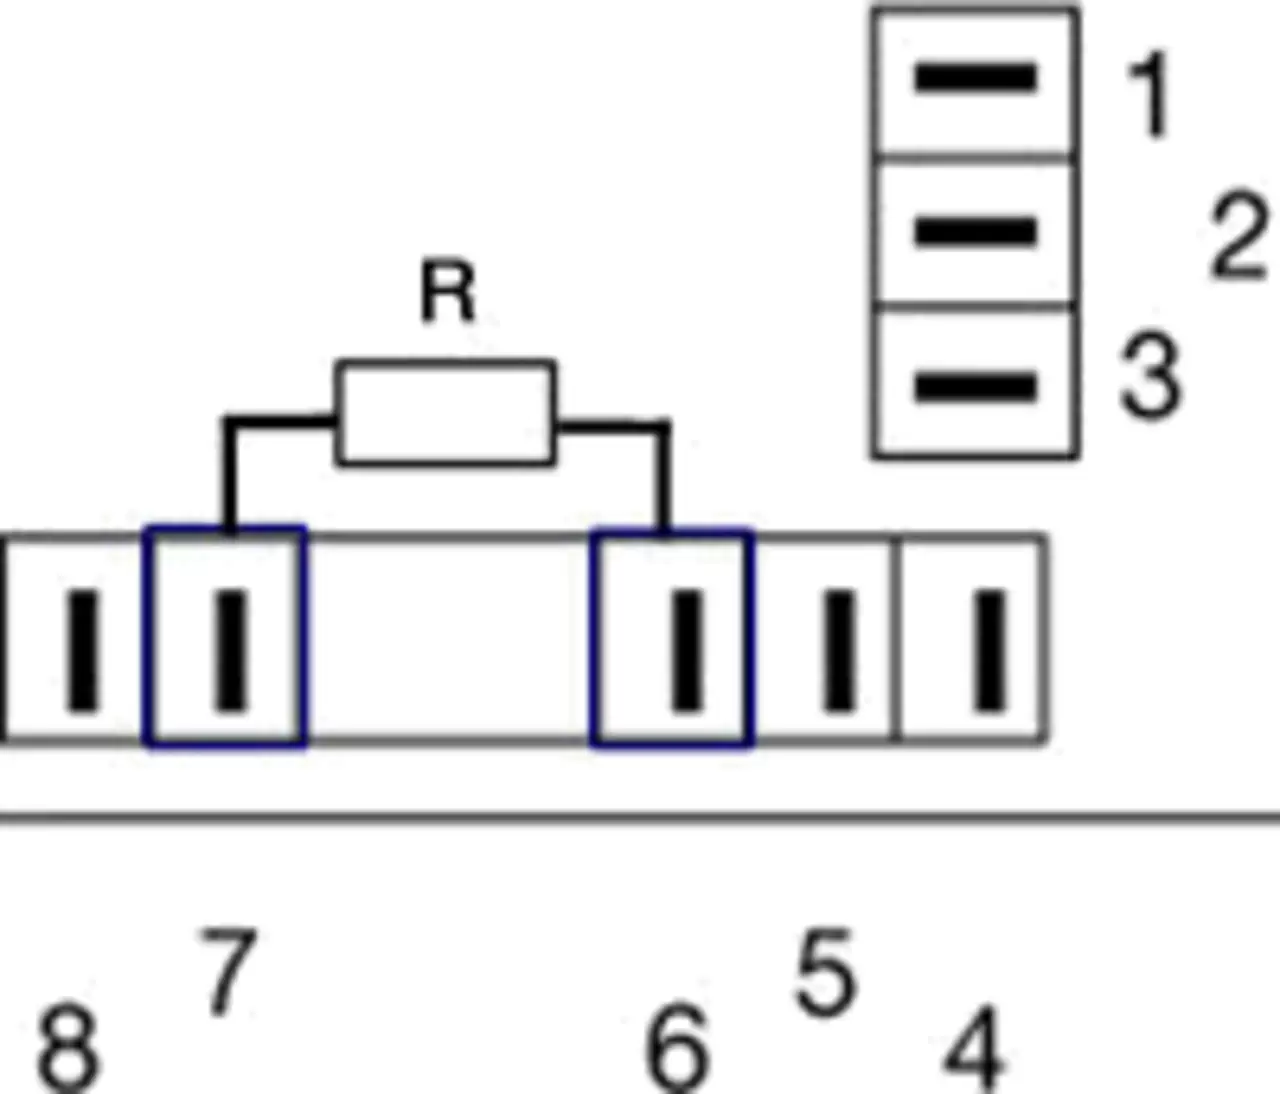
The actual value can be preset by the Lf simulator. If a simulator is not available, a resistor can be connected via a fixed resistor to the two input terminals of the device and, for cable testing, to the end of the cable.
The actual value can be read on the device according to the resistance.
The required resistance can be calculated using the formula.
The device must be in factory settings and must not display an error message.
For example:
Measuring range 0...100uS
Desired display value 50uS
Cell constant K=0.1
R (cell resistance measurement) = 0,01 (cell constant K)
5 uS (desired display value)
This results in a cell resistance measurement R 2000 ohms, which must be connected to two terminals 6 and 7.
To begin calibration, activate the controller.
Start situation > Measurement mode > Press the PGM key repeatedly until CODE appears > Enter 0300 and confirm with PGM > Press the Exit key once > Press the PGM + Down key at the same time.
Temperature 25,0 appears in the upper (red) display, °C appears in the lower (green) display, the decimal point in the lower display flashes. Refer to the operating instructions for further procedure.